Thursday, May 31, 2012

Brown Stew Chicken


Along with curry chicken, oxtail or curry goat, Brown Stew Chicken is at the top of the list on any Jamaican household dinner plate, any day of the week.

I haven’t met anyone that’s tried it that didn’t ask for more. It’s the perfect balance of sweet and heat, if ofcourse you’re into that J

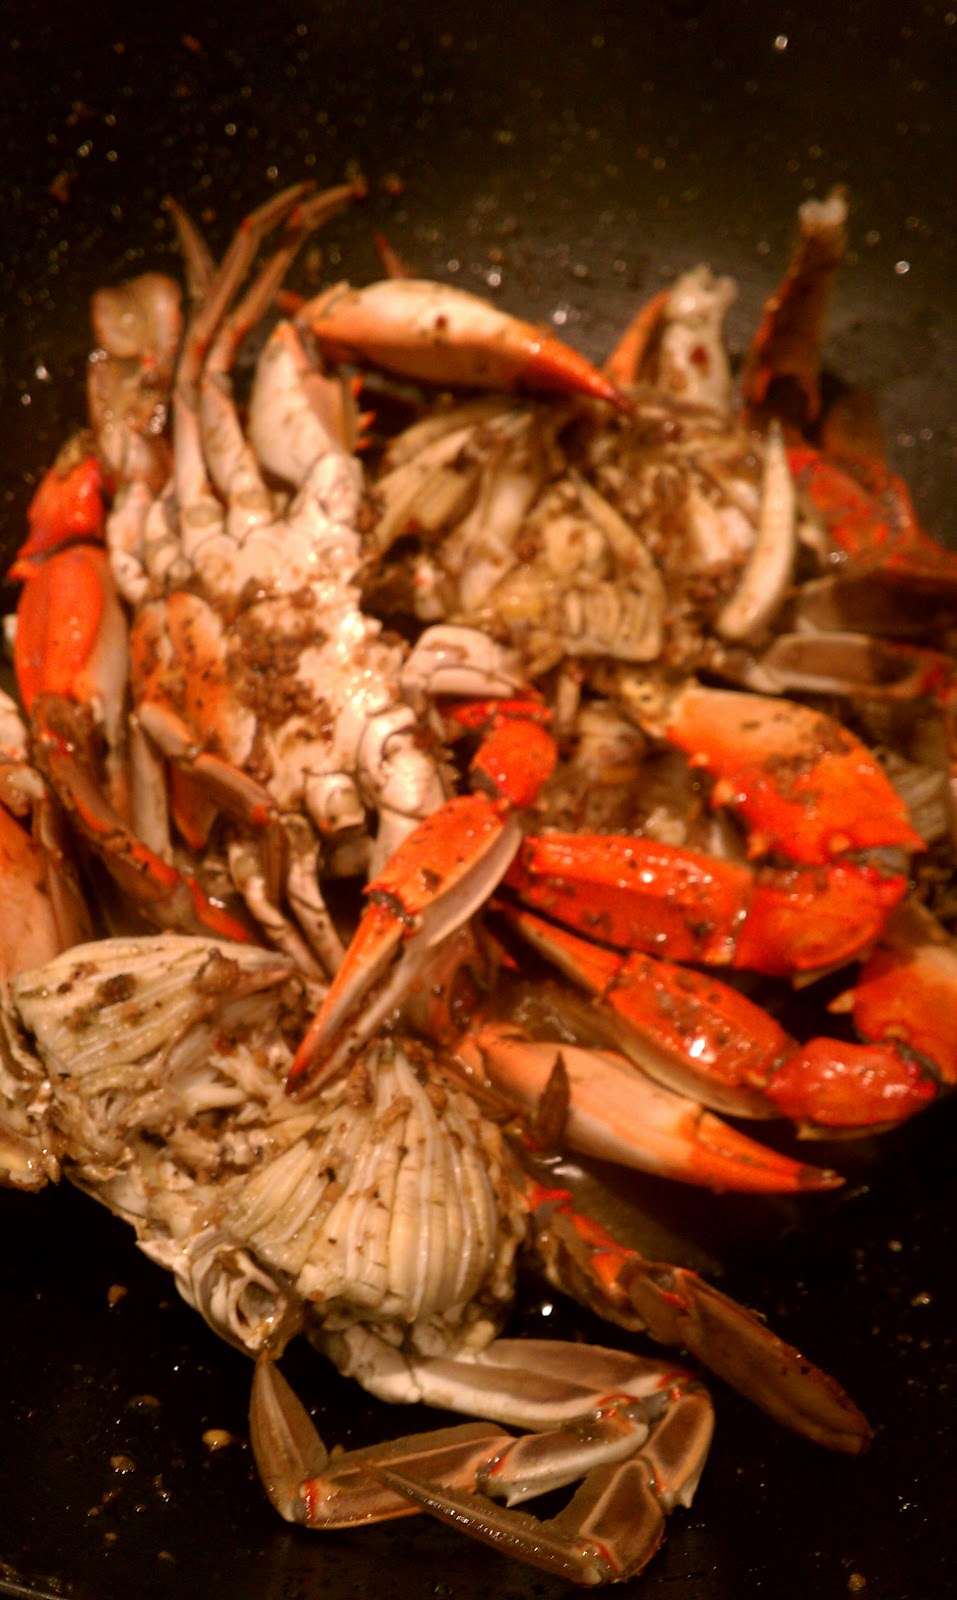
To cut back on prep time, I always ask my butcher to chop up a whole chicken, in small pieces, or aka curry style… All butchers know what that means.

Once you get the chicken home remove the skin and clean the pieces thoroughly and then wash it again with a bit of fresh lemon juice. (a habit I picked up from my mom as child, the lemon is suppose to take away the raw chicken smell)

The best way to perk this dish up to its full potential is by marinating it overnight, letting all the seasoning come together in perfect brown stew harmony.

A lot of people add tomatoes and potatoes to the mix, (the tomato for sweetness and the potato also act as a starch to thicken the sauce when fully cooked) but I opt out of adding anything else and just enjoy the chicken my way.

If chicken is on the menu for dinner tonight take a chance and make this chicken recipe, serve it with some rice or plantains, and I promise you won’t be disappointed!


Ingredients
1 lb whole chicken, chopped up
2 tablespoon chicken seasoning
2 tablespoon total seasoning
1 tablespoon paprika
2 teaspoons black pepper
Salt to taste

2 tablespoons browning
2 cloves garlic, minced
1 small onion, chopped
2 stalks green onion, chopped (escallions)
3 -4 sprigs fresh thyme or 3 teaspoons dried thyme
1 teaspoon pimientos or 1 teaspoon allspice, cracked
3 tablespoons ketchup or tomato paste
A piece of scotch bonnet pepper (optional or use 2 teaspoon pepper flakes)
4 tablespoons vegetable oil
3 cups water

Thickening Sauce
1 tablespoon all-purpose flour
¼ cup water


Directions

  1. Season the chicken with minced garlic, paprika, chicken seasoning, black pepper, total seasoning, chopped green onions, onion, thyme, pimentos and browning, don’t be afraid to get your hands dirty, get in there and make sure the meat is seasoned all over.

  1. If possible place seasoned chicken in refrigerator overnight to marinate.  If not; season, cover and let sit for at least 30 minutes before cooking.

  1. In a large skillet, heat oil on medium high heat. 

  1. Place a small amount of only the chicken in the skillet to lightly brown (just a few pieces at a time, and can be done in 2 batches)

  1. Once the chicken is browned on one side, flip on the other side to brown also (depending on your heat, it should be about 3-4 minutes on each side)  

  1. Once the chicken is brown on both sides, remove to a plate to rest and repeat the process with the rest of the chicken until all the meat is browned.

  1. Do not discard the marinade; it will be used when the chicken is almost done cooking.

  1. Once all the chicken is browned on both sides, add them back to the skillet with any leftover marinade and the rest of your seasoning (scotch bonnet pepper, garlic, green onion, thyme, pimentos) and stir in 1 cup of water.

  1. Cover and let cook for 15 minutes on med high heat, stirring occasionally so it doesn’t stick.

  1. After 15 minutes, add another cup of water and ketchup or tomato paste, cover and let cook.

  1. Add more water (1/4 cup at time) ONLY if necessary so it doesn’t stick, until the chicken is tender.

  1. Now lets’ thicken it up. Turn the heat down to medium-low

  1. Mix ½ cup of cold water with 1 tablespoon of all-purpose flour; make sure there are no lumps.

  1. Add mixture to pot stirring while pouring it in.

  1. Sauce should begin to thicken immediately, Cover and let simmer to until the sauce is at your desired thickness.

Serve over rice and enjoy.


Print Friendly and PDF

Tuesday, May 29, 2012

Corn Pudding

This baked corn pudding recipe has been one of my very favorite side dishes that compliment any family get together. Its quick to put together and toting it should be a breeze because it won’t spill all over if you are transporting it.  I’ve used fresh and frozen corn and there is not much difference in the results, so if want something simple, easy to put together, few ingredients and carries well. This will be your perfect go to side dish.


Ingredients
1 (15 1/4-ounce) can whole kernel corn, drained
1 (14 3/4-ounce) can cream-style corn
1 (8-ounce) package corn muffin mix (recommended: Jiffy)
1/4 cup sugar (optional)
½ cup sour cream
½ cup (1 stick) butter, melted
2 eggs


Directions:
  1. Preheat oven to 350 degrees F.
  2. In a large bowl, stir together the cream style corn & drained corn, jiffy muffin mix, sour cream, sugar and melted butter.
  3. Pour into a greased 9 by 13-inch casserole dish. Bake for 45 minutes, or until golden brown.
  4. Let stand for at least 5 minutes and then serve warm.


Print Friendly and PDF

Thursday, May 24, 2012

Garlic Blue Crabs


There are 2 ways to get through the process of cooking blue crabs. You can; Steam then Clean or Clean then Steam, whichever way you decide to make it, it’s totally up to you.

To avoid having my daughter freak out at the fact that I bought something that’s still alive to put in the pot, which I know she would probably not eat and will probably scar the poor thing for life, I'm using the non-barbaric way to getting these blue crabs on the table..lol


So to use the Clean then Steam Method:
Start with live hard-shell blue crabs, making sure to discard any that are dead. Place the live crabs in ice-water for several minutes to stun them (it is best to use a large container for this purpose). Once immersed in ice-water, the crabs will become dormant. After several minutes the crabs will be "asleep", and then you can easily handle them with your bare hands.

Take each crab and remove its carapace (top shell). This is done by grasping the legs on one side of its body and prying the shell off, using the sharp spines for leverage. This kills the crab instantly.

With the carapace off, remove the spongy gills (known as the "dead man's fingers") and wash out the entrails (guts) using a high-pressure water spray (e.g., use a garden hose with a spray nozzle). Using your thumb and index finger, grasp the crab's mouth parts, twist off, and discard. Turn the crab upside down and, using a knife or other sharp object, pry up and remove the crab's apron which is folded up under its body. Rinse thoroughly.

At this point you should have a squeaky clean crab body with all legs and claws attached. The main body should be completely clean and consist of nothing but glistening white shell with meat inside.

Repeat this procedure until all of your crabs have been cleaned.

Note: After cleaning the crabs, you can save a few of the carapace (top shell), clean them thoroughly and add them back to the plate for presentation. 


Garlic Blue Crabs


Ingredients
8 blue crabs (cleaned)
6 tablespoons Old Bay seasoning, or to taste
4 tablespoons of lemon pepper
1 tablespoon paprika
dash of pepper flakes (optional)
1 cup butter
½ cup chopped/minced fresh garlic
1 cup chopped parsley leaves


Directions:
  1. Bring a large pot of water to a boil (enough to cover the crabs)
  2. Add Old Bay Seasoning to water
  3. Add the crabs and cook until they are bright red/orange, approximately 10-15 minutes
  4. Remove from boiling water and let them cool to the touch.
  5. Crack the crab in 2 sections down the middle (optional).
  6. In a deep skillet, melt the butter, add garlic, parsley, paprika, lemon pepper, pepper flakes and stir to combine.
  7. Place the crabs in the skillet, using a spoon to covering as much as possible with the mixture and put them onto a platter.
  8. Pour remaining butter mixture from skillet, add a squeeze of fresh lemon juice over the crabs before serving.
  9. Serve with lots of napkins and lemons on the side
Note: I added corn to my dish but I boiled the corn in a separate pot and added them to the garlic butter before serving. (didnt want them to have the fishy taste) :)


Print Friendly and PDF

Related Posts Plugin for WordPress, Blogger...